Getting Start
This tutorial will guide you how to getting start with MCM-204 from un-boxing
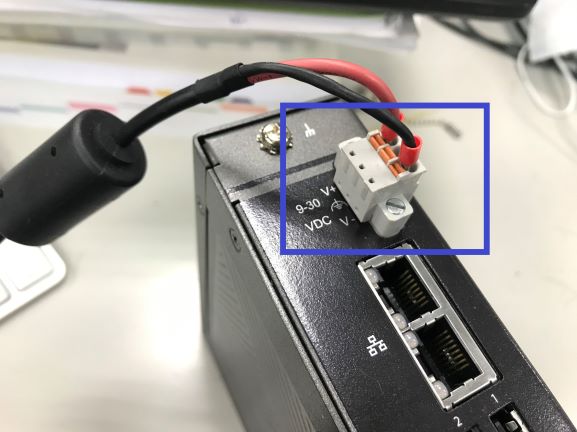
Step 1: Connect Power.
Connect the positive and negative wires from a 9V to 30V DC power source to the terminal block.
Step 2: Connect MCM-204 to PC or laptop.
Connect MCM-204 to the PC or laptop by ethernet cable.
Please make sure the PC/laptop network mode is under DHCP or static IP set at 169.254.x.x network segment.
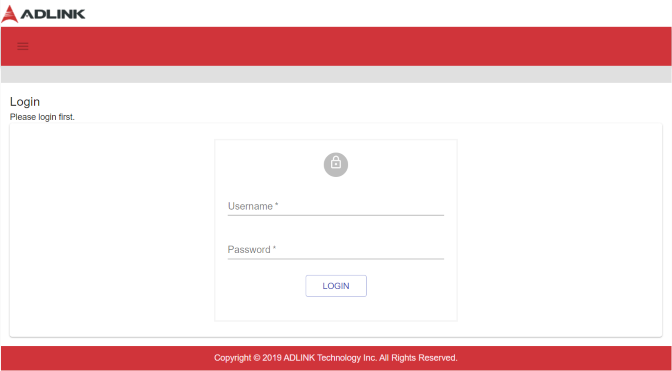
Step 3: Open the web browser to access the build-in web console.
Open the web browser (chrome is recommanded) to access with the default IP http://169.254.1.1
Once acess MCM-204 web console sucessfully, the page will displayed like below. The default username is administrator and password is Adlink6166, after fill in these required information then click LOGIN to login to the web console.
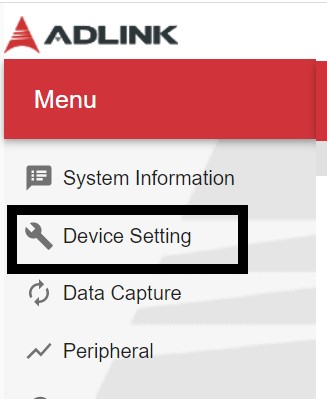
Step 4: Device Setting
Click menu Device Setting to enter the device setting page.
 You could control the analog input setting and customize what kind of data you want to acquire. You could scroll the page to the bottom and simply click Apply to apply the default setting at this tutorial.
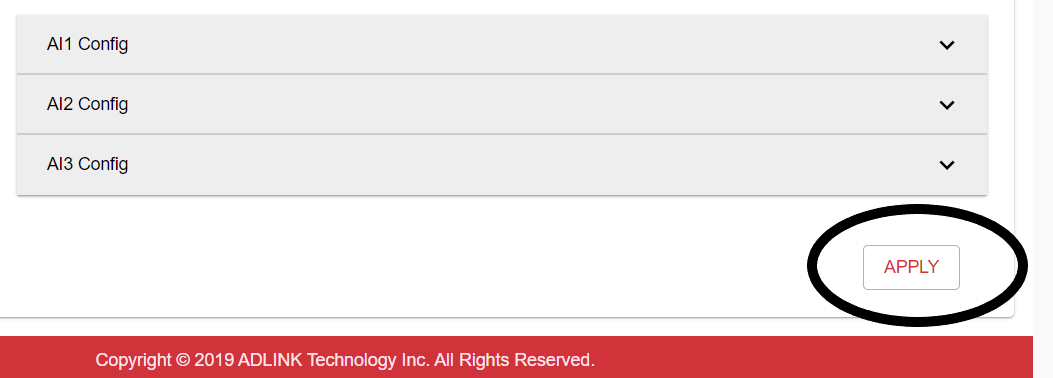
After done, there will pop up a successful message to notify.
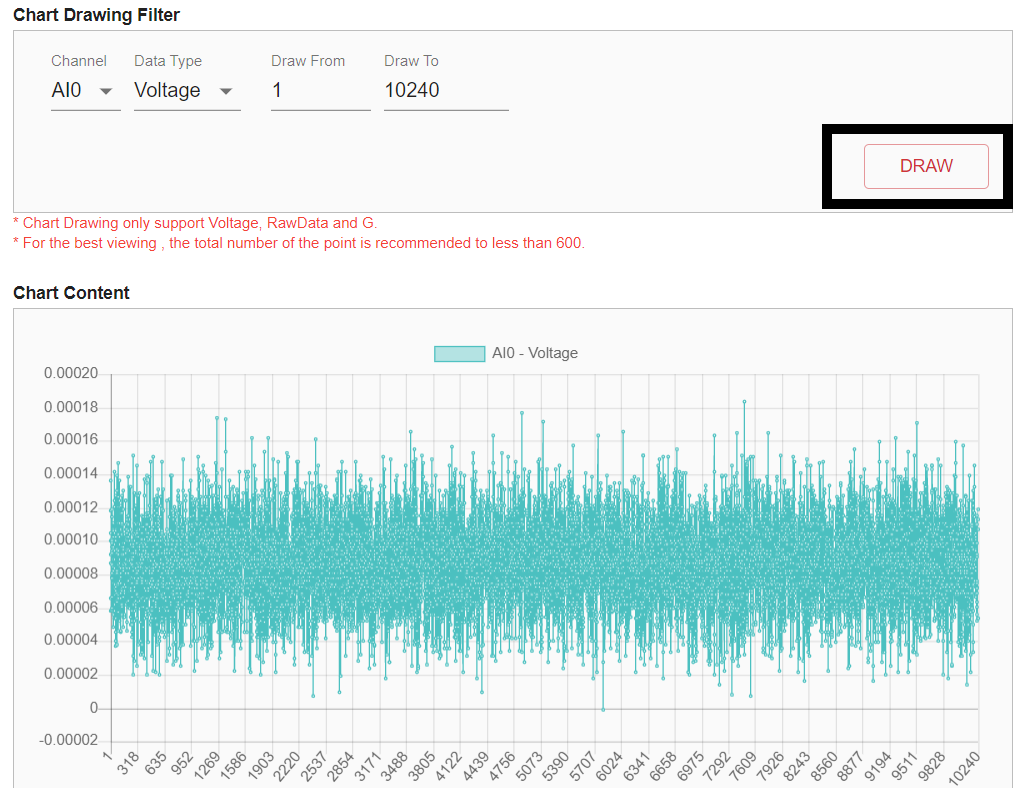
Step 5: Data Capture
Click menu Data Capture to enter the data display page and all the data set at last step will be displayed at this page.

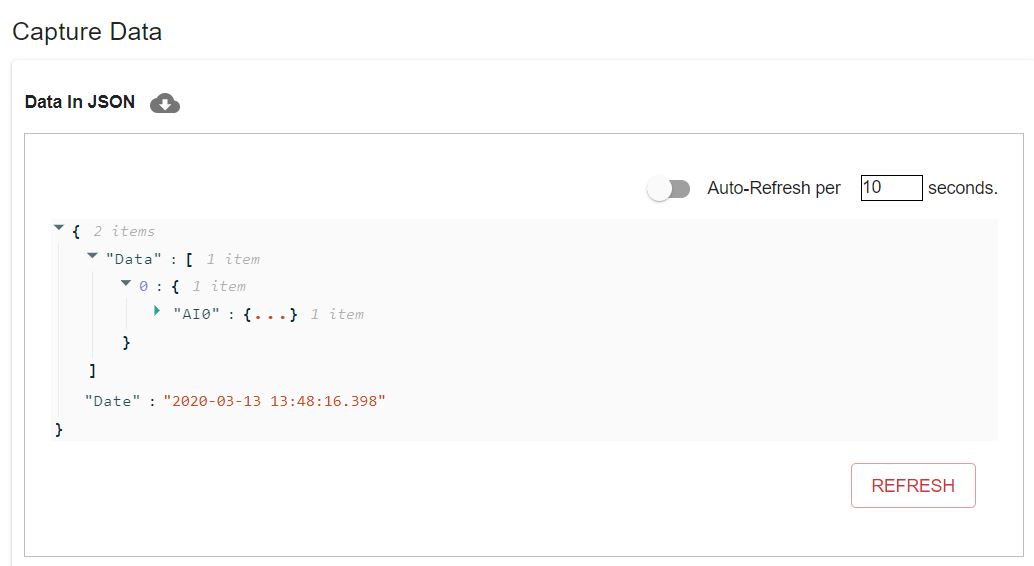
If the data include the Voltage data type, you could click Draw to draw the voltage chart.